A garment template is one part sheet and nine parts small things stuck to it. Miss any of the small things and the template underperforms — fabric creeps, flaps sag, layers drift. This is the complete checklist of garment template accessories, what each does, and how to stock them. (For how they come together in a build, see how to make a sewing template.)
Joining: the tapes
Double-sided cloth tape is the structural adhesive of template work — it joins PVC or epoxy layers and survives hundreds of open-close cycles. Cloth-based construction peels cleanly at rebuild time instead of shredding. Widths run 5–40 mm; 10–20 mm covers most joints. The yellow-adhesive variants grip harder for stressed flaps, and fiberglass-mesh double-sided tape is the heavy-duty option where a hinge takes real load. Full width/length matrix on the double-sided tape page.
Single-sided kraft cloth tape (red or yellow cloth base, 20–50 mm) does the finishing work: edging template borders so they do not scratch fabric or hands, hinging light flaps, and labeling. Fiberglass-mesh single-sided tape reinforces stress points and repairs field cracks.
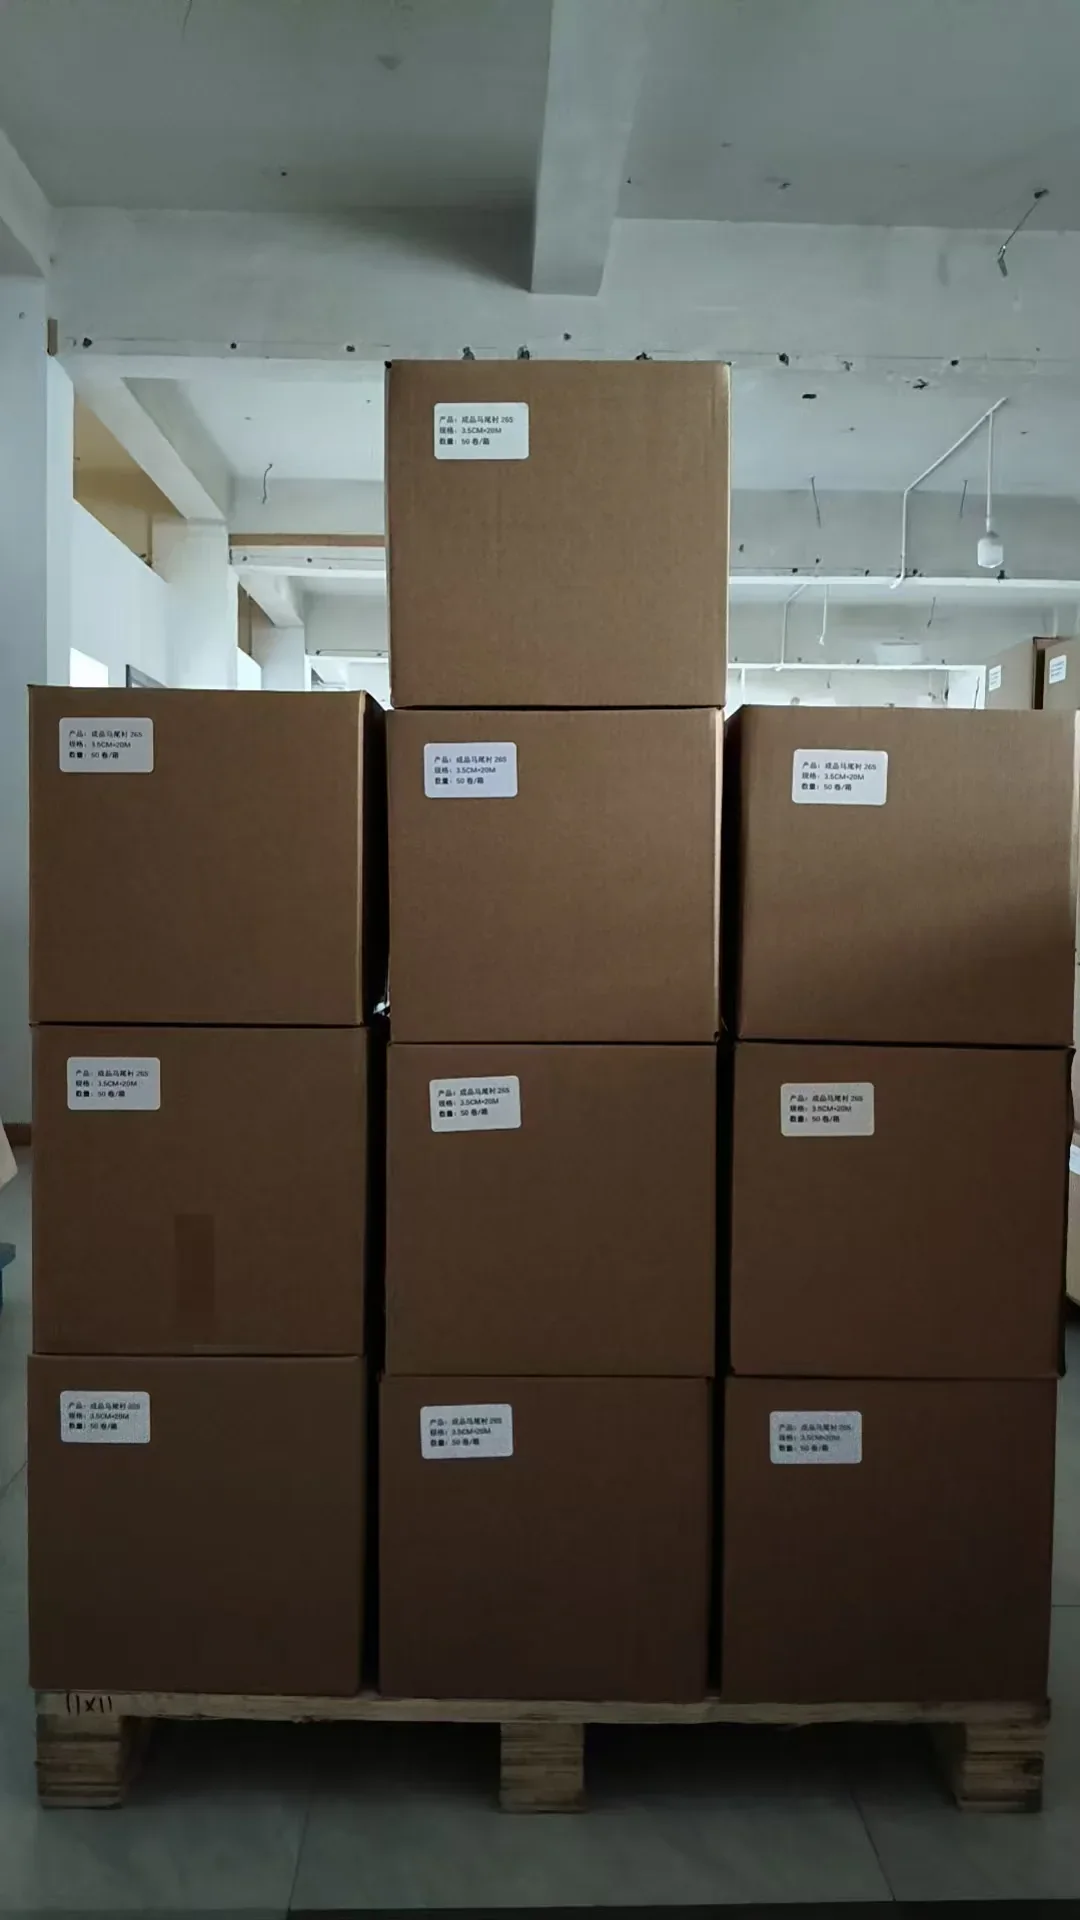
Stocking note: tapes are carton goods (63–612 rolls per carton depending on width) and the consumption driver is rebuild frequency, not template count.
Holding fabric: grip and fences
Sandpaper grip strips — adhesive-backed abrasive strips (5/6/8/10 × 280 mm) — line the fabric-contact faces along the groove. They are the single highest-impact consumable in the room: the difference between fabric that sits and fabric that creeps into puckers.
Foam edge strips (adhesive-backed, 1–5 mm thick, in 1 m and 28 cm lengths) build the soft fences that locate the panel at loading. Match foam thickness to fabric thickness — too thin does not register, too thick shadows the seam. Foam sheet blocks (50 × 50 cm, same thicknesses) cut into custom fences and fillers.
Horsehair interlining strips (20–35 mm widths; plain, adhesive-backed, or pre-cut) serve curved paths and delicate shells: a firm-but-flexible guide edge that will not bruise fabric the way a hard fence can. The adhesive-backed and pre-cut variants trade cost for assembly speed.
Closing the stack: pins, clips, magnets
Template pins (9/11/13/15 mm, polished tips) lock layers through fabric where clips cannot reach; the ribbed anti-slip versions hold in slippery down-jacket shells and coated fabrics. Sold by the box (160–500 pins), by the carton for production rooms.
Steel quick clips (1 mm thickened steel) are the workhorse closure along template edges — fast on, fast off, no marks.
Neodymium magnets (10 and 20 mm discs) close templates where a protruding clip would strike the machine head, and hold small flaps flat mid-cycle.
For the machines
Recognition chips (3 cm discs, plain or adhesive-backed) tell an automatic template sewing machine which program the inserted template needs — cheap insurance against wrong-program needle strikes.
Router bits — single-flute for PVC, corn-teeth for epoxy — are the cutting room’s consumable; the bit selection guide covers grades and wear.
Felt underlay mat (1.47 m width, cut to length) protects the cutting bed at through-cut depth, and the hook knife with spare blades handles trims, chamfers and sample work.
The reorder pattern that works
Everything above is cheap alone and annoying to run out of. The pattern that works in practice: hold one unopened carton of each core consumable as floor stock, reorder quarterly sized to monthly template output, and consolidate the whole list with your sheet order — accessories ride nearly free on sheet freight. Track consumption per template built for two quarters and the reorder math writes itself.
Setting up from zero? The template room setup guide sequences the first purchase, and the accessories catalog has the full spec tables. Send your monthly template output and machine types for a sized starter-kit quote in one proforma.